


When you have an elevated or second-storey deck, the area underneath is often overlooked — exposed joists, bare concrete, or an empty space that collects leaves and looks unfinished. An underdeck ceiling transforms that dead space into a clean, weather-protected area that works as outdoor living space, storage, or simply a polished architectural feature.
We recently completed an underdeck ceiling installation for a Sydney home that demonstrates exactly how much difference a well-installed soffit lining makes. Here’s a walkthrough of the build.
The Project: What We Built
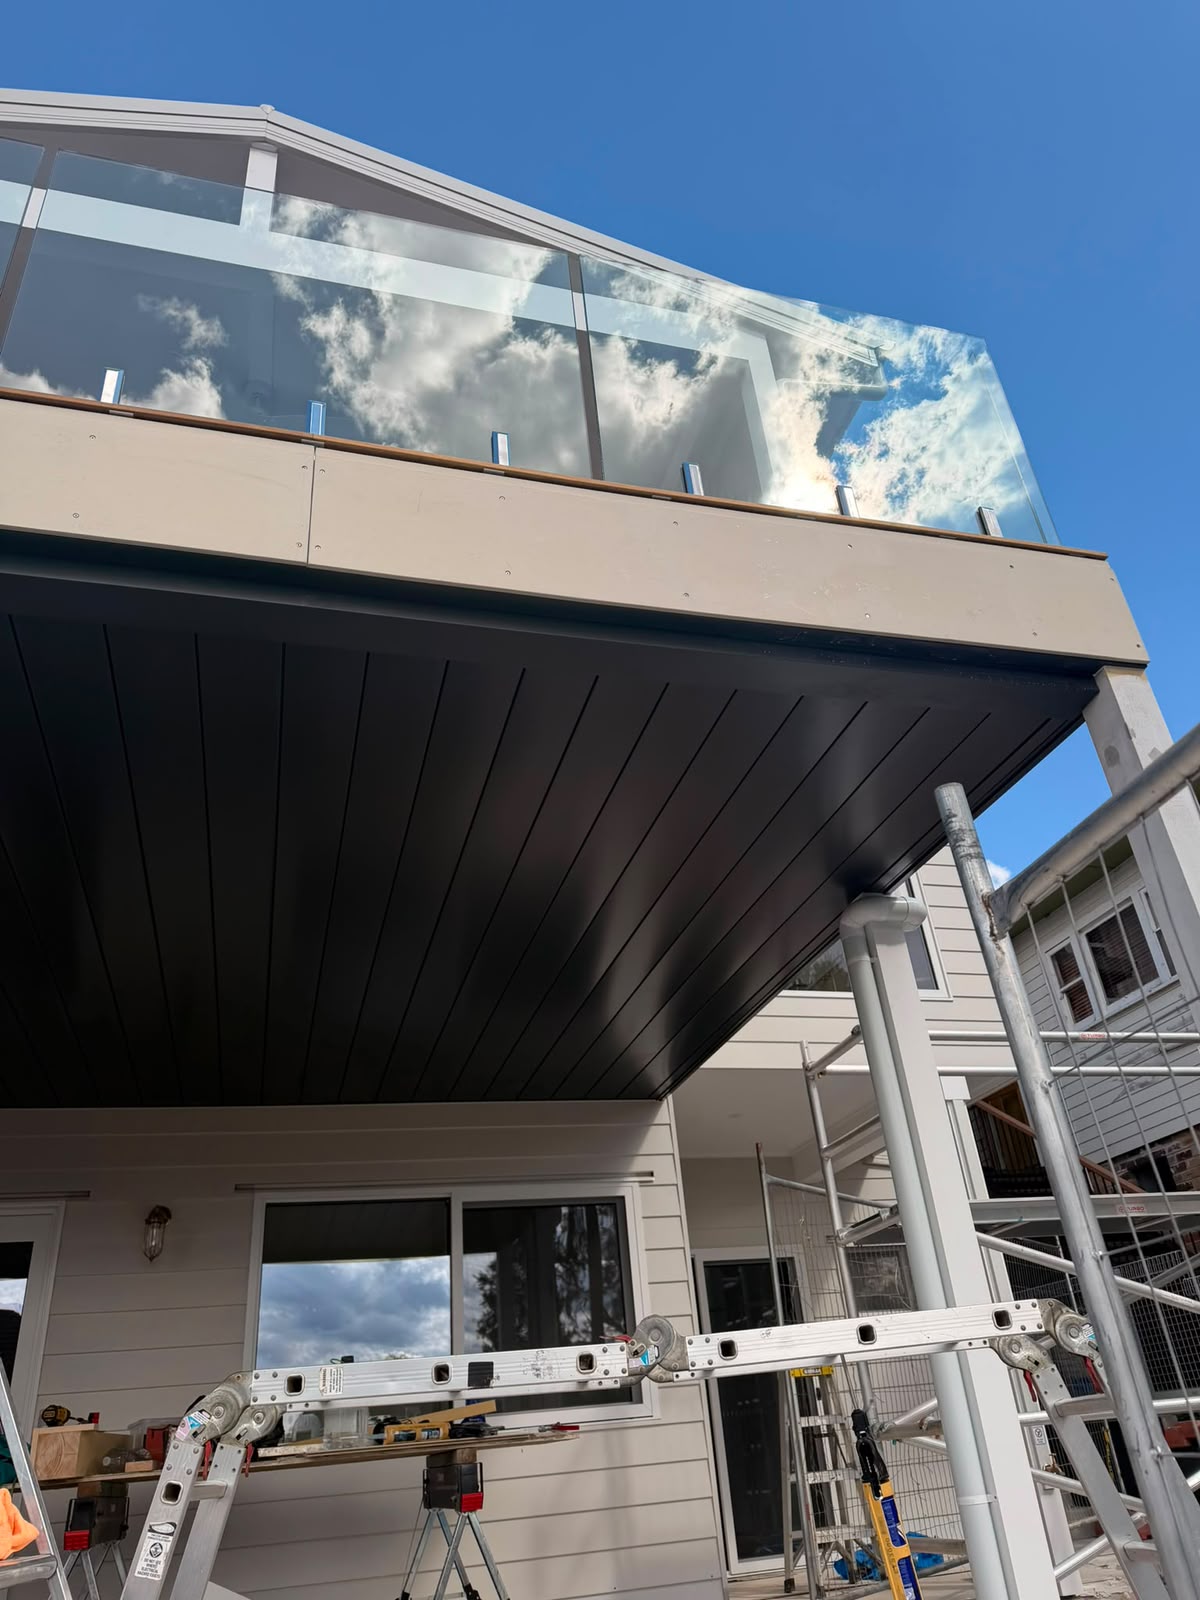
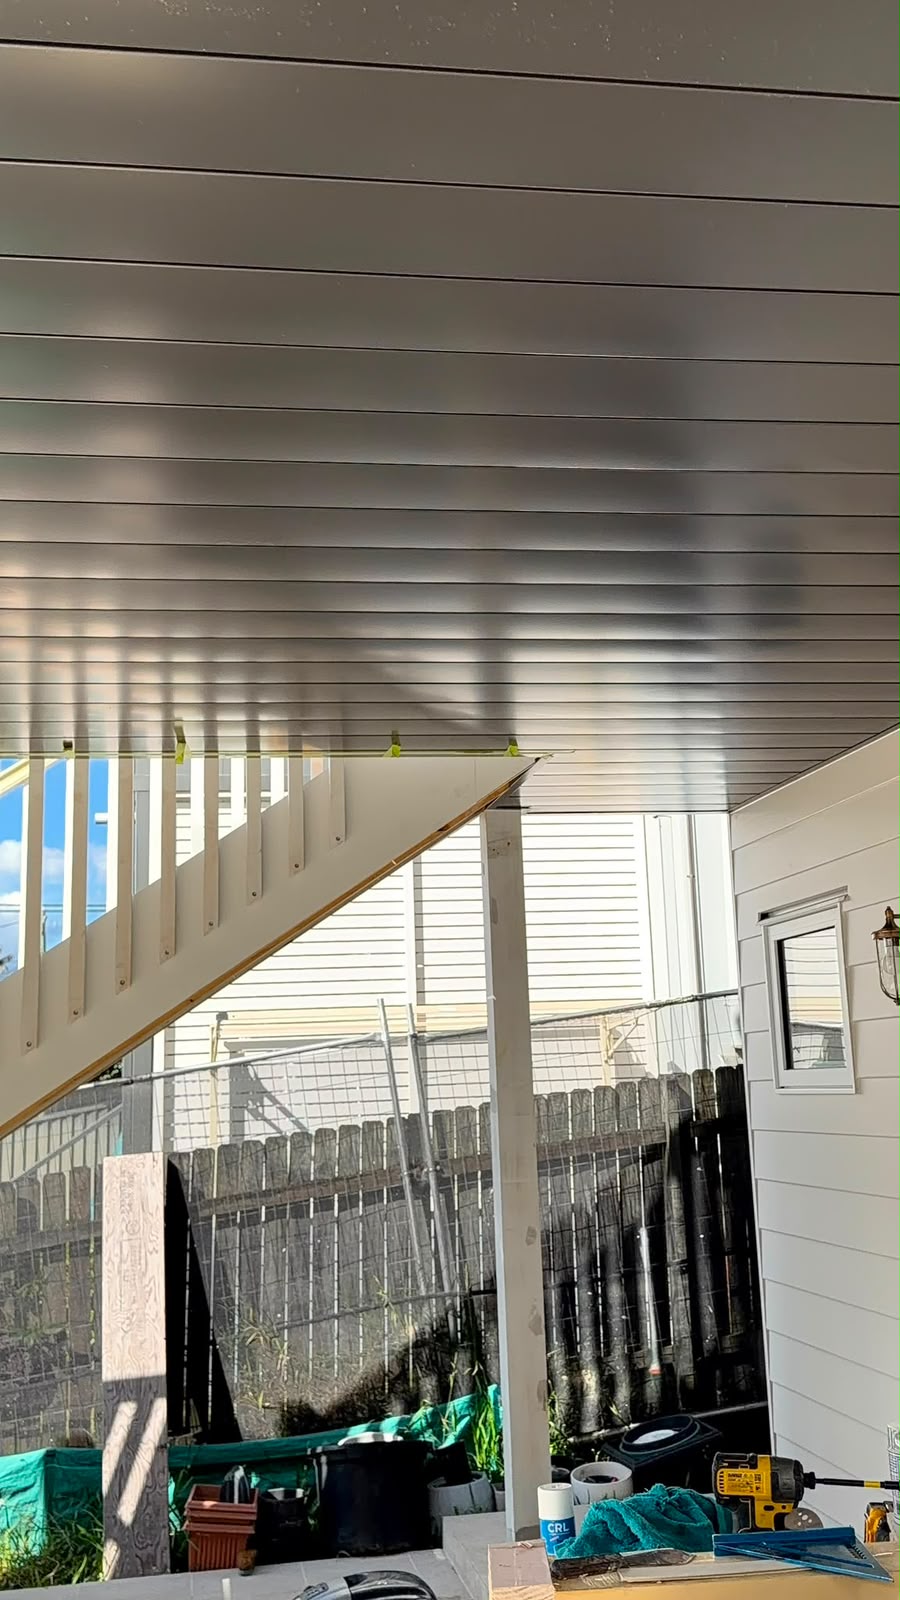
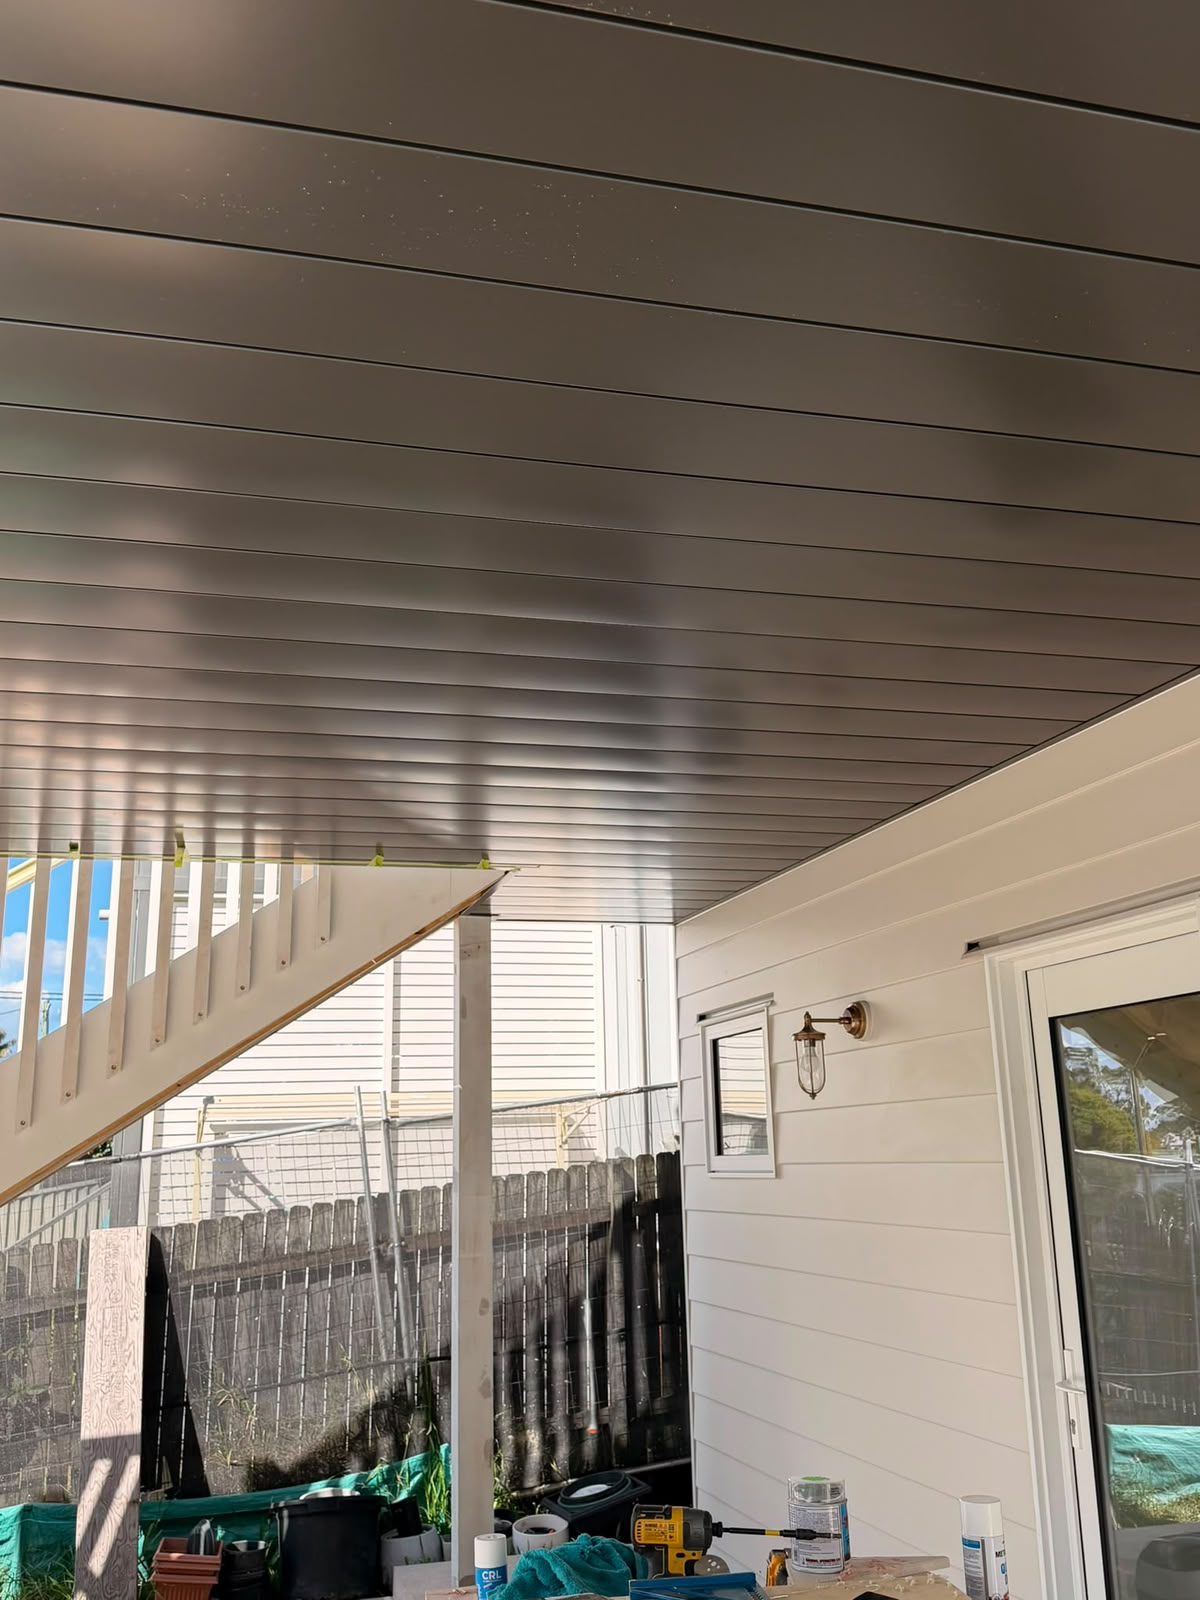
This project involved installing a dark timber-look linear soffit lining beneath an existing elevated deck, along with a frameless glass balustrade on the upper level and a matching staircase. The underdeck ceiling turns what was previously an exposed, unfinished area into a usable, good-looking space that ties in with the rest of the home’s exterior.
Why Install an Underdeck Ceiling?
An underdeck ceiling isn’t just about appearance. It serves several practical purposes for Sydney homes:
- Weather protection: The ceiling creates a dry, sheltered area beneath the deck — perfect for entertaining, storage, or a walkway, even in Sydney’s sudden downpours.
- Clean finish: Rather than looking up at raw joists and bearers, you get a smooth, continuous surface that matches the architectural style of the home.
- Property value: A finished underdeck area adds usable square footage to your outdoor living space, which is a selling point for Sydney properties.
- Pest and debris control: A sealed soffit lining stops leaves, spiders, and birds from nesting between the joists.
Materials: Linear Soffit Boarding
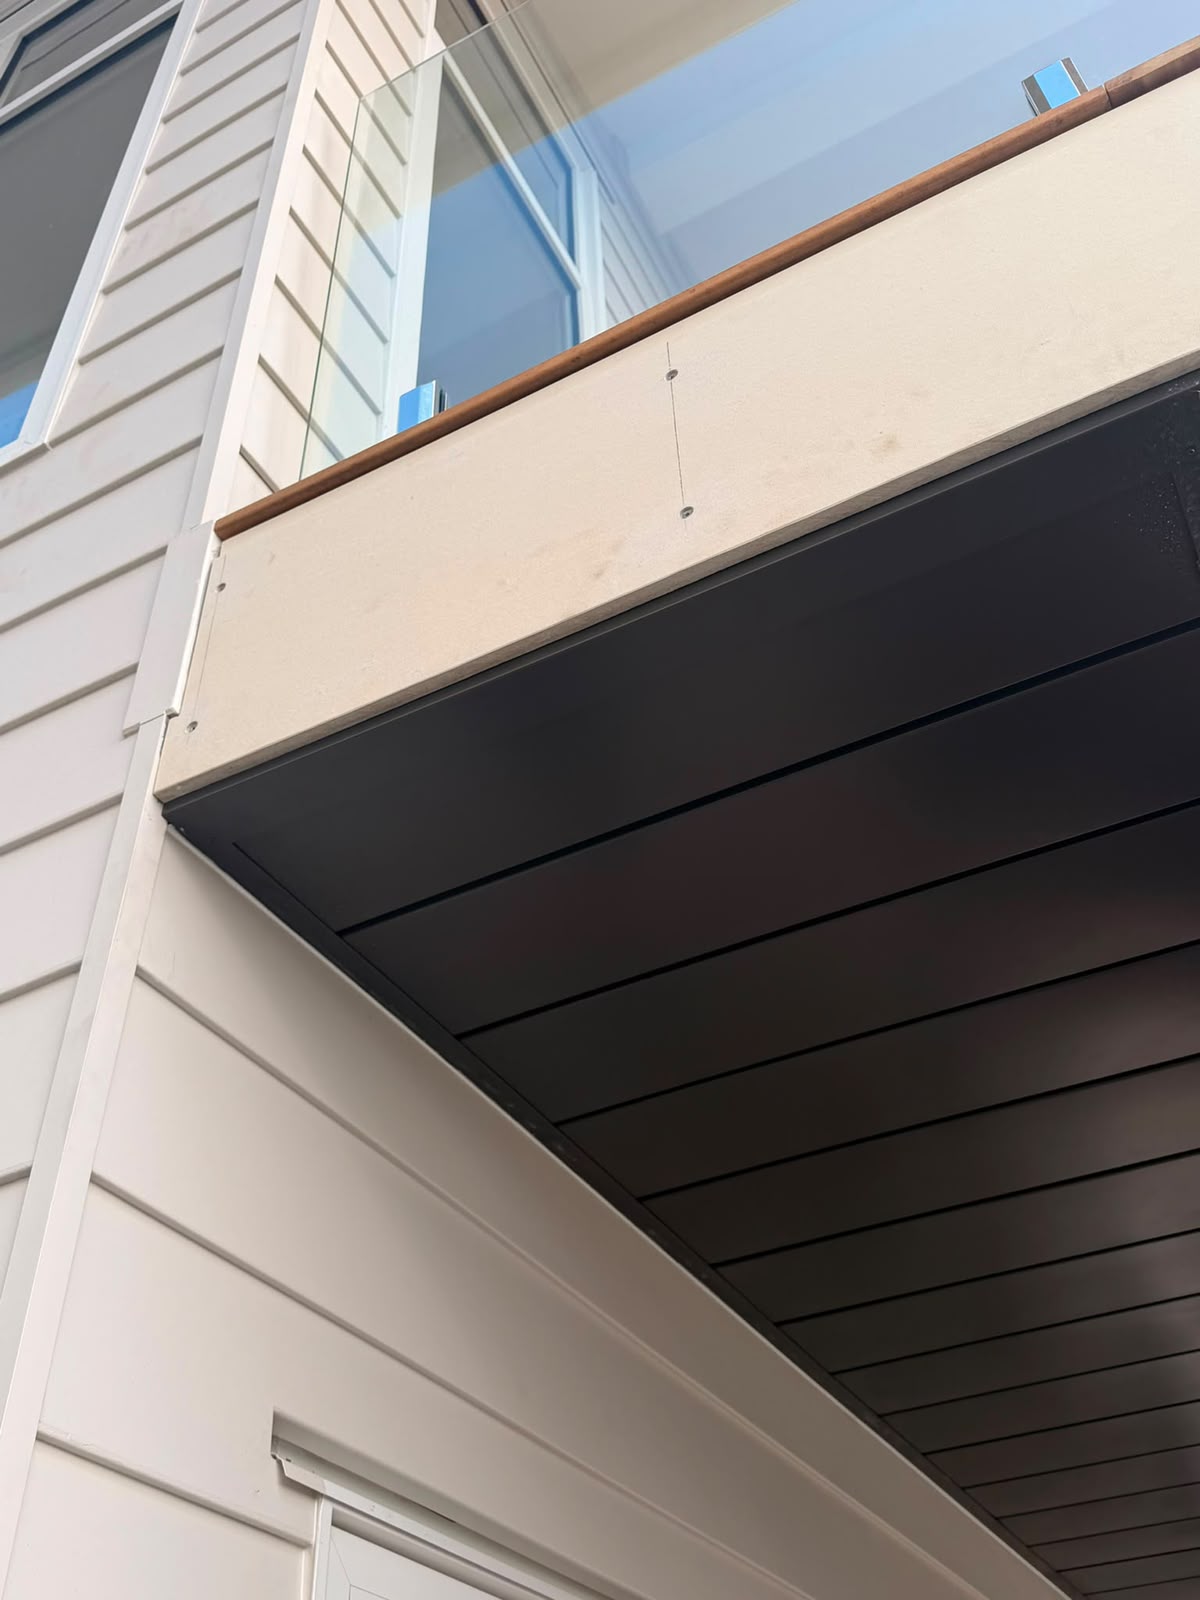
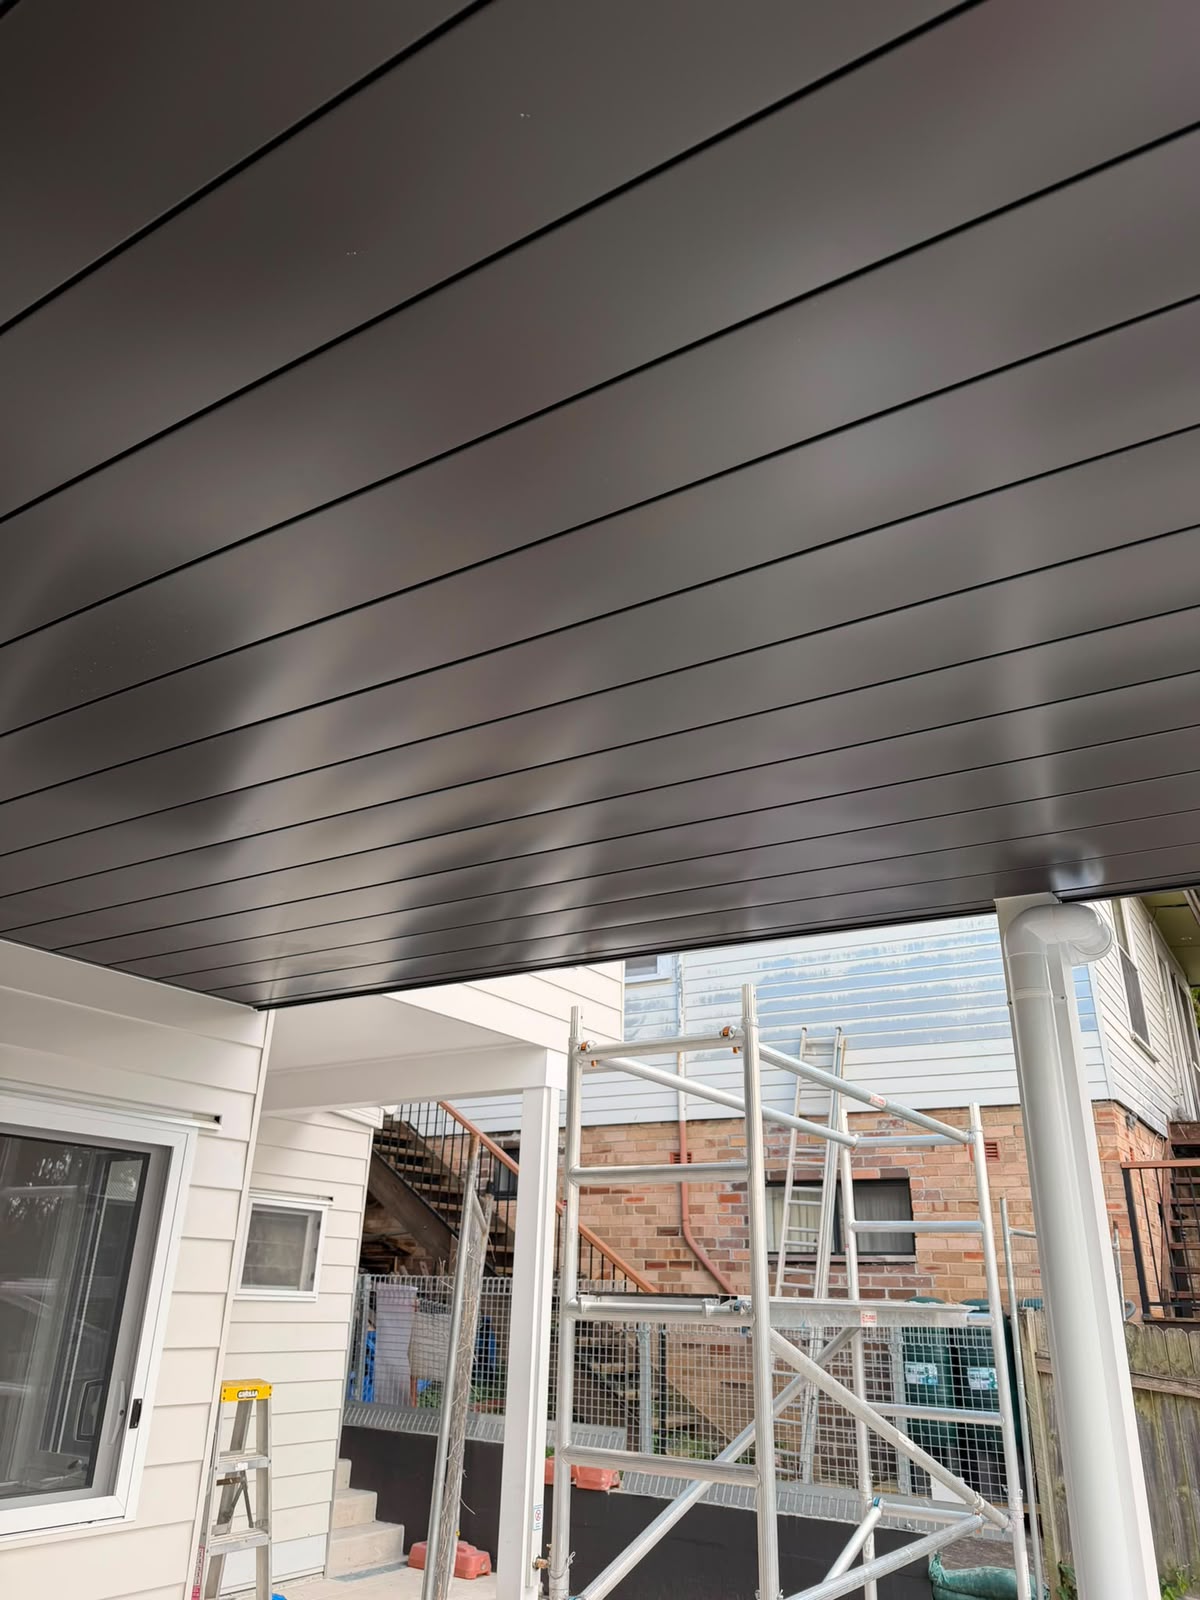
For this project we used a dark timber-look linear board system. These boards run in continuous lines along the underside of the deck, creating a modern, architectural ceiling effect. The dark tone contrasts beautifully with lighter wall and fascia colours, and the linear pattern draws the eye along the space, making the area feel longer and more deliberate.
The boards we use are designed for exterior exposure — they’re moisture-resistant, UV-stable, and won’t warp or twist with Sydney’s temperature swings. They clip into a concealed fixing system, so there are no visible screws or nails on the finished surface.
The Build: Step by Step
1. Framing and Battens
Before the lining goes up, we install a timber batten framework beneath the existing deck joists. This gives us a flat, level surface to fix the soffit boards to, even if the original joists aren’t perfectly aligned. The batten spacing is critical — too wide and the boards can flex, too narrow and you’re wasting material.
2. Soffit Board Installation
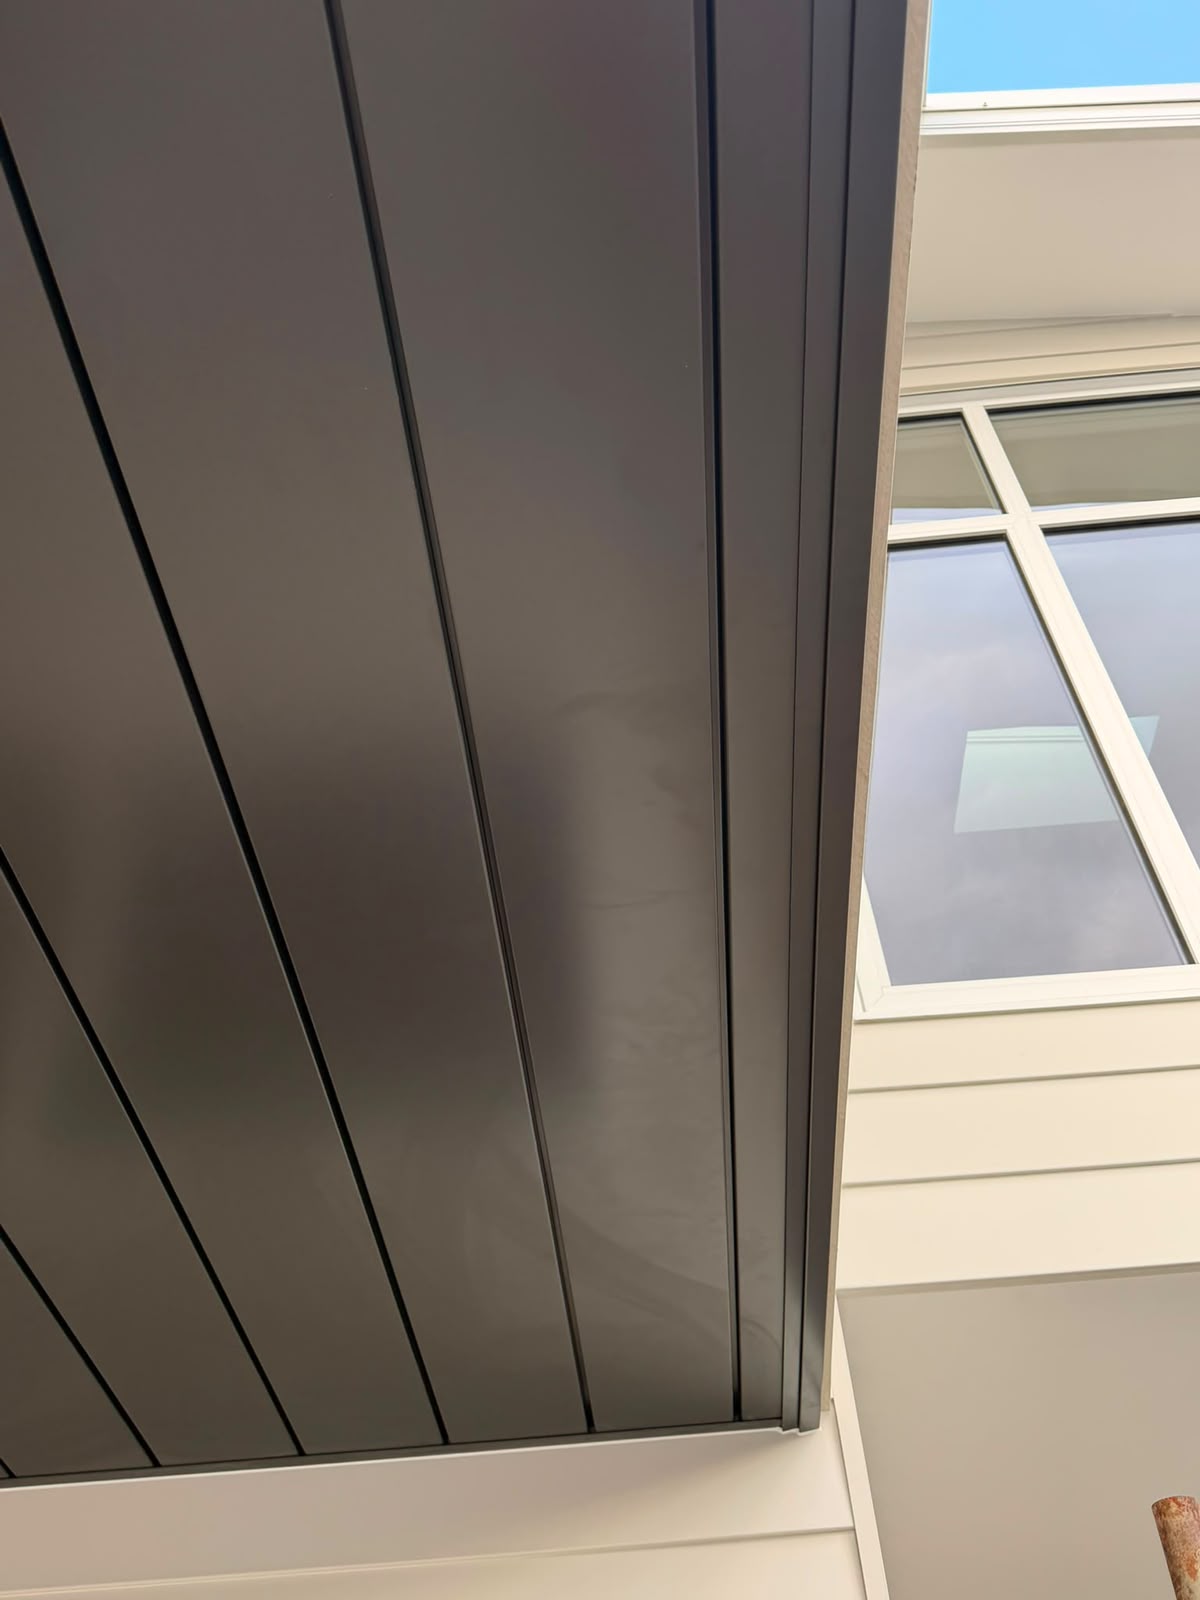
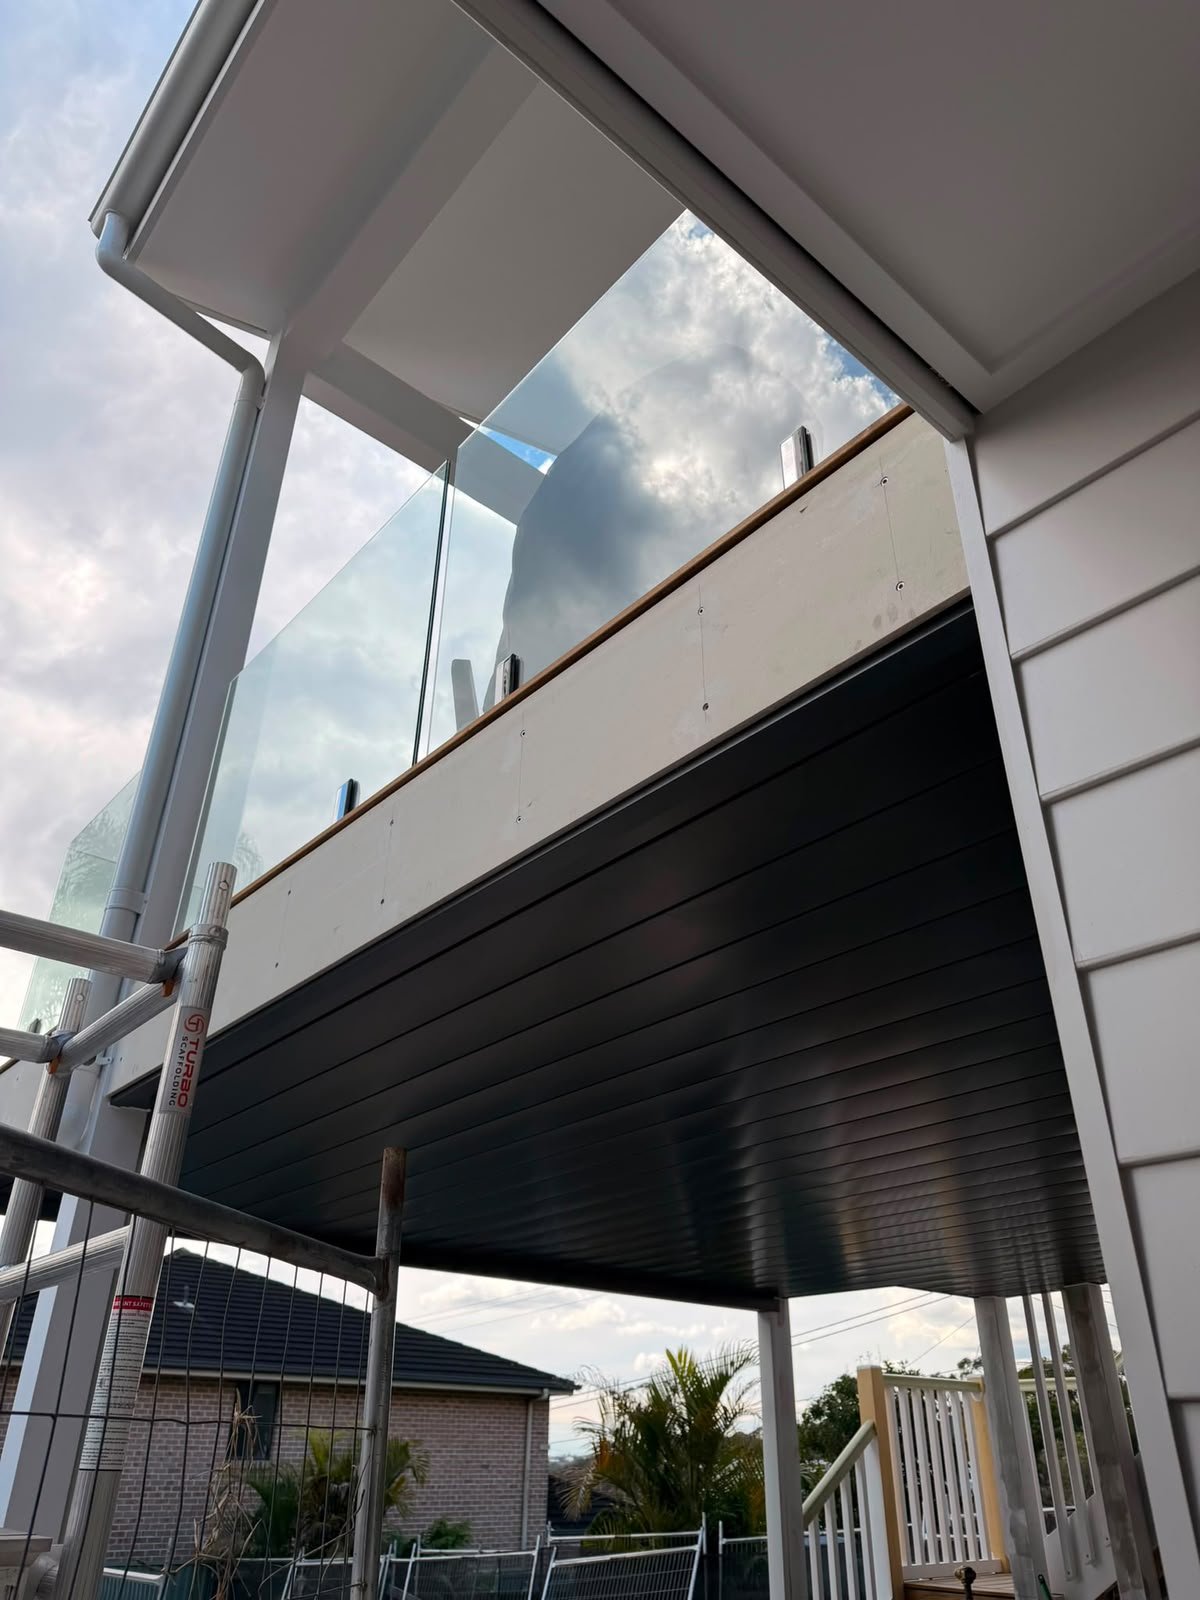
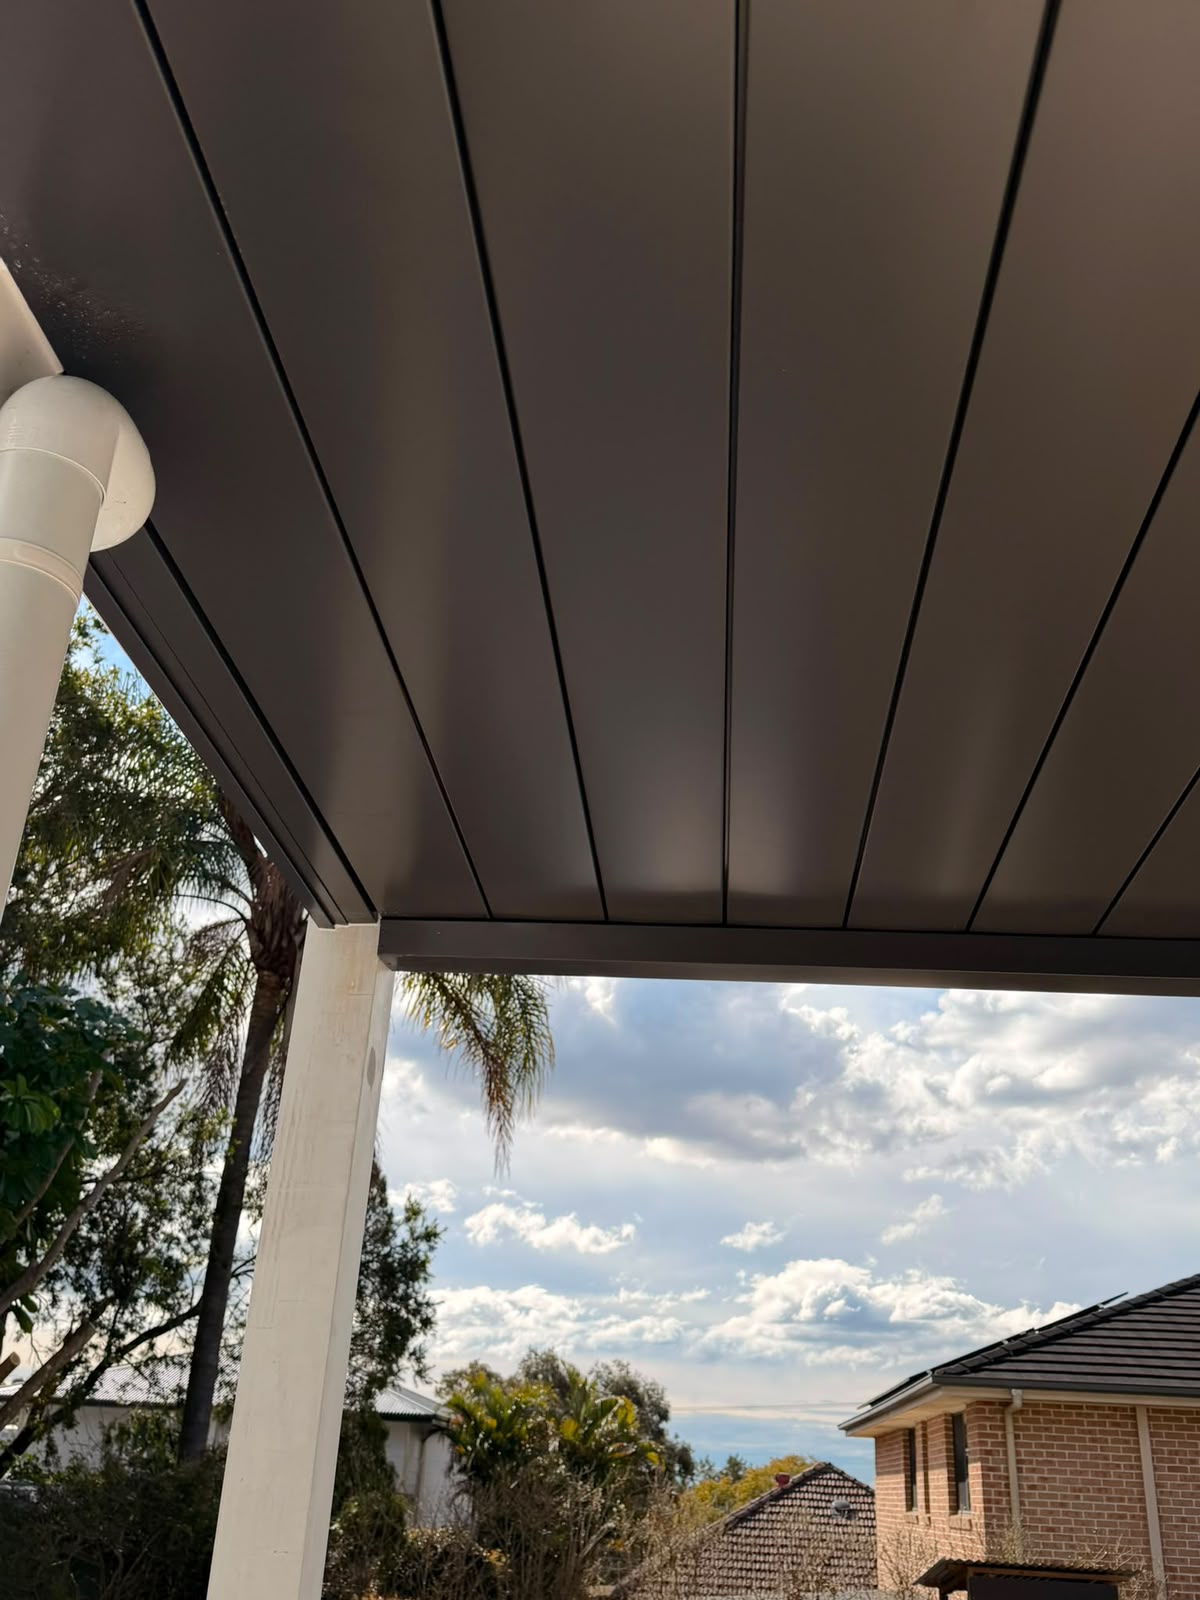
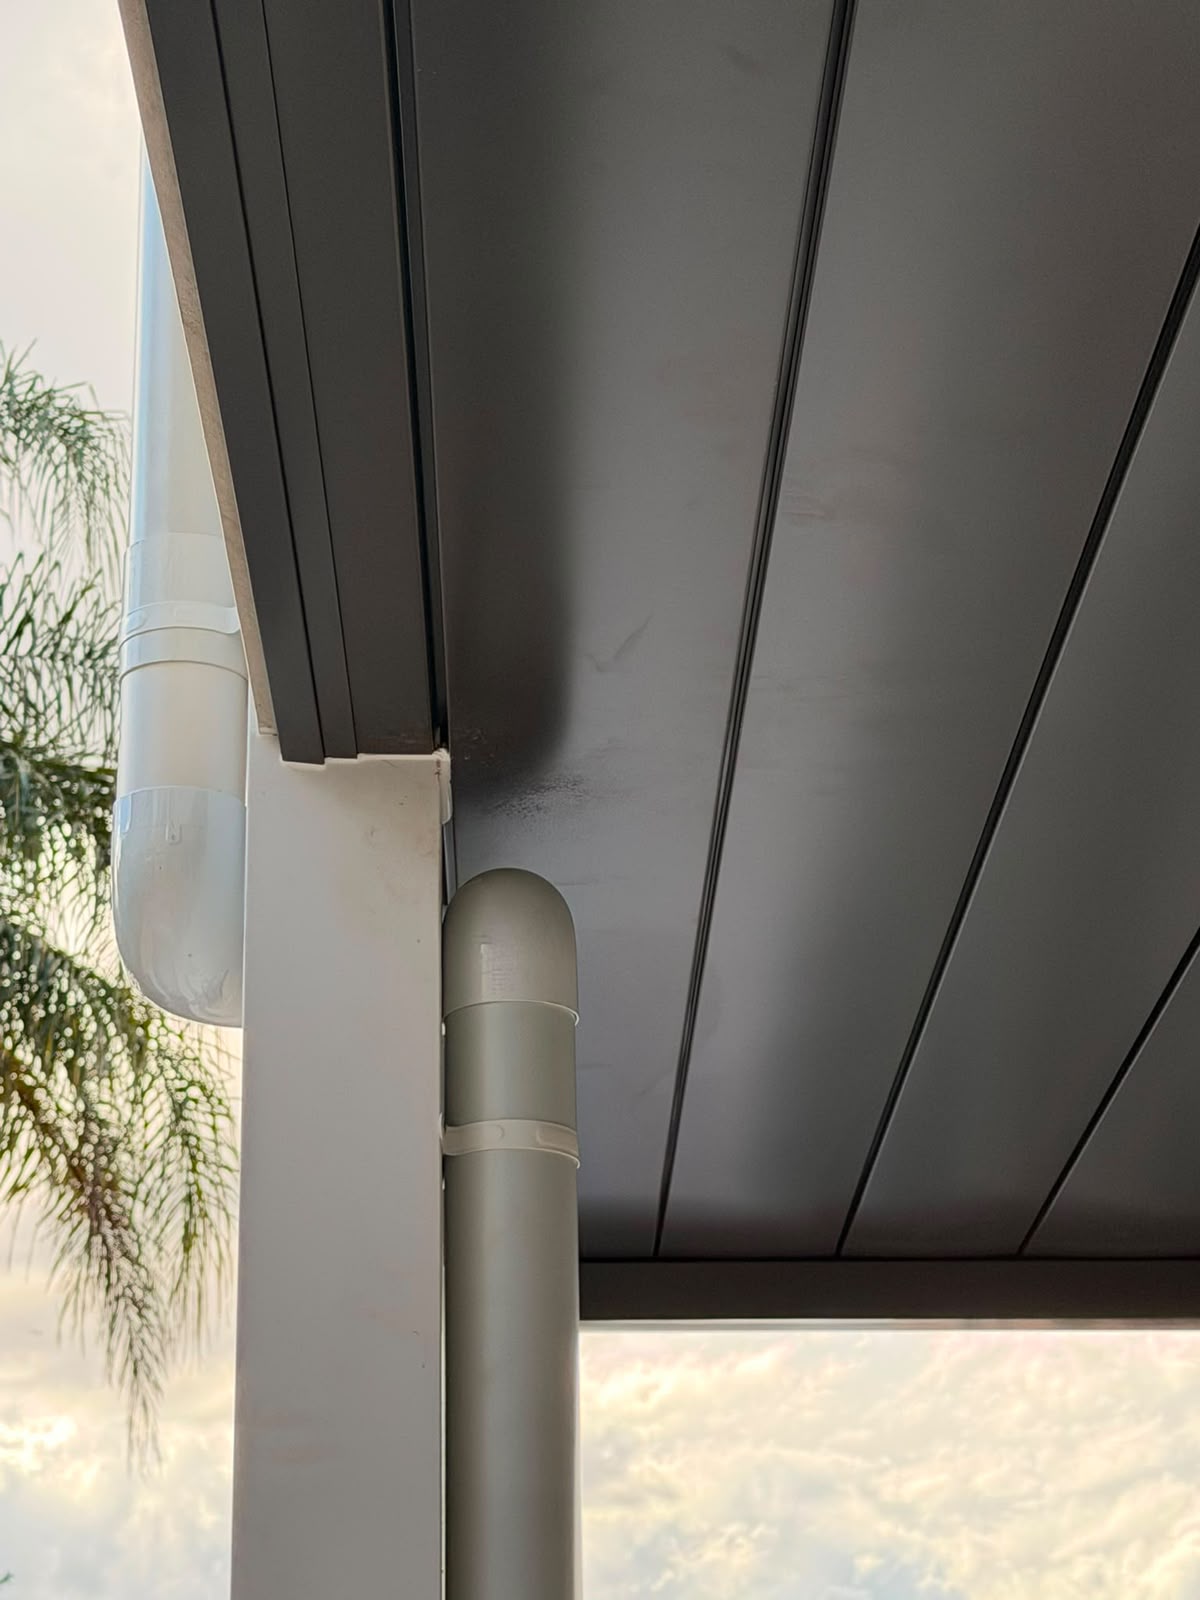
The linear boards are installed one row at a time, working from one end of the deck to the other. Each board clips into the previous one with a concealed fixing system, so the finished ceiling has a clean, unbroken surface. We pay close attention to the edges — where the soffit meets the fascia beam, window trim, or wall cladding, the boards are cut precisely to create a tight, mitred joint with no gaps.
3. Glass Balustrade
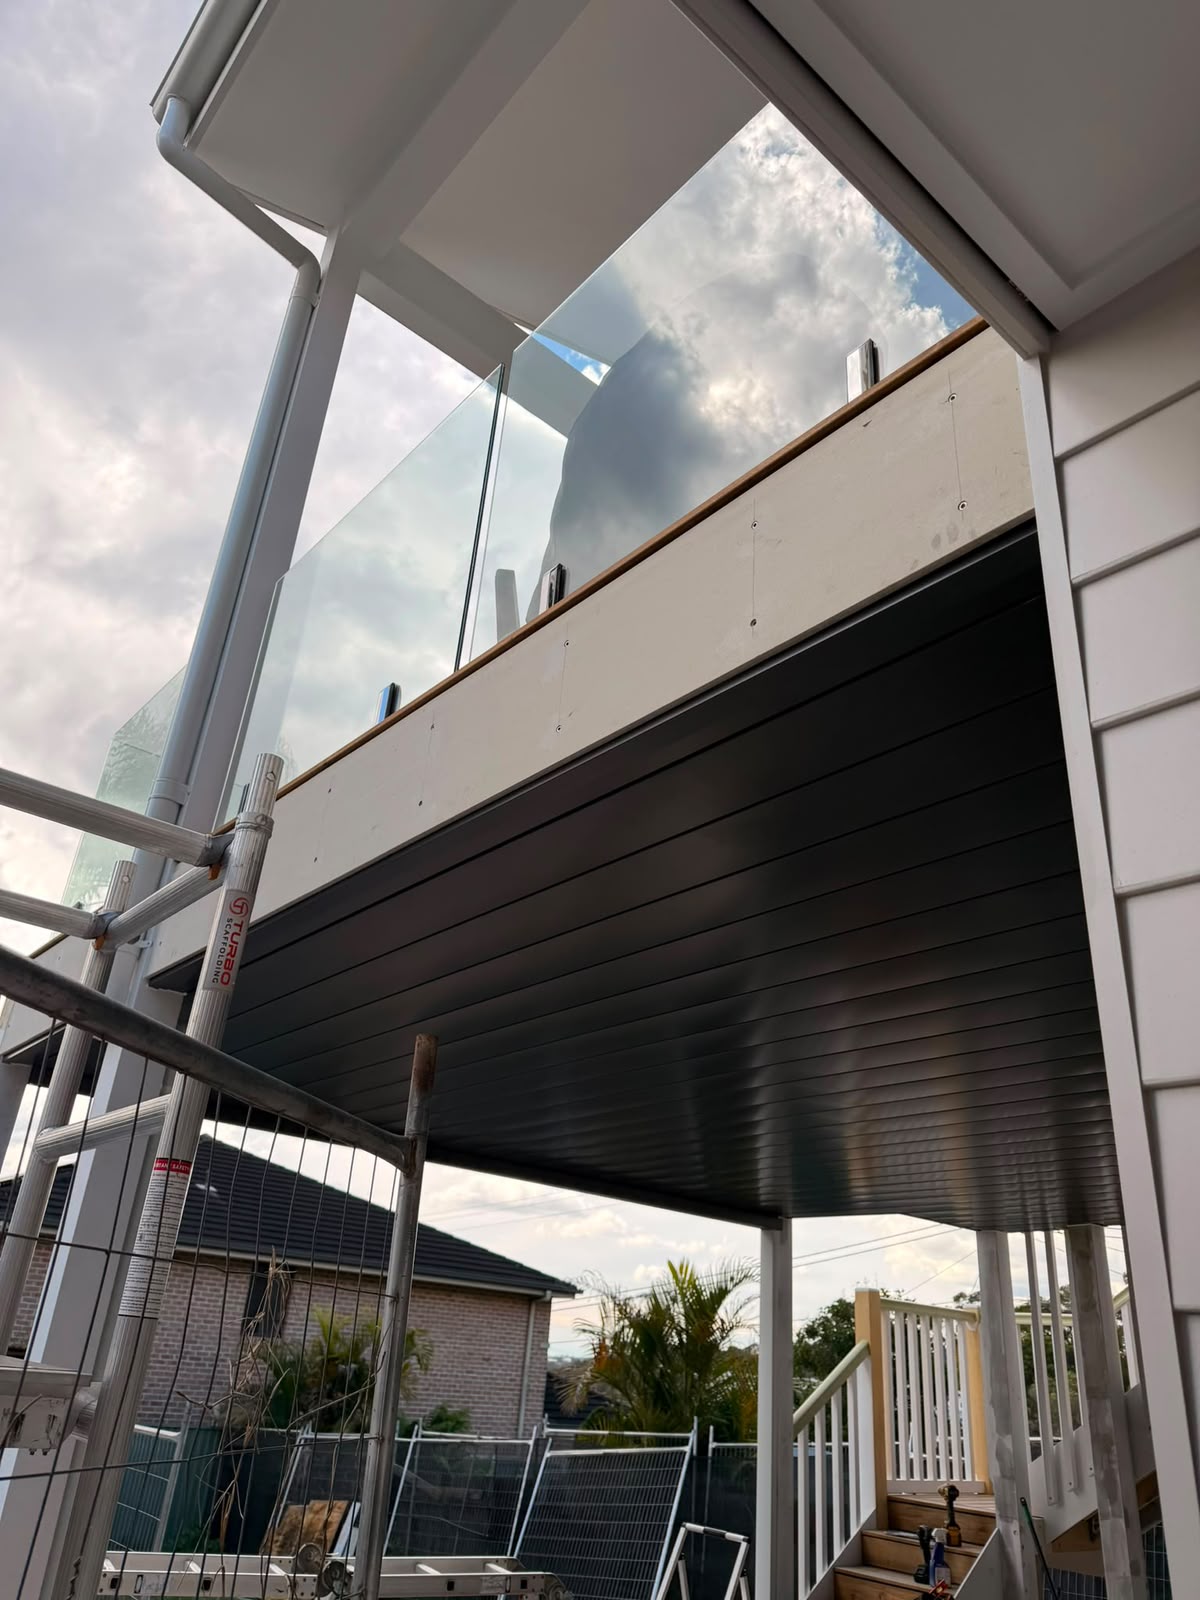
On the upper level, we installed a frameless glass balustrade. This is a popular choice for Sydney homes with elevated decks because it preserves sightlines — you can see through the glass to the garden, street, or view beyond, rather than having a solid wall blocking the outlook. The frameless system uses stainless steel spigots or a channel fixing, so there are no posts or rails interrupting the glass.
4. Staircase
A timber staircase connects the upper deck to the ground level. The staircase is built with treated pine stringers and hardwood treads, with the soffit lining continuing overhead so the area beneath the stairs feels like an extension of the underdeck ceiling rather than a separate structure.
5. Finishing Details
The final step is the finishing — making sure every edge, corner, and junction is clean. Where the soffit meets the wall, we use a trim or seal to prevent water ingress. The staircase gets its treads and risers, and the area beneath is cleaned and finished so it’s ready to use as outdoor living space.
Underdeck Ceiling vs Underdeck Waterproofing
It’s worth noting the difference between an underdeck ceiling and underdeck waterproofing. Waterproofing involves installing a membrane or channel system above the ceiling boards that catches rainwater and diverts it to the edges, keeping the area completely dry. A ceiling lining without waterproofing will still look great, but some water may penetrate through the deck board gaps above.
For this project, the design allows for natural drainage while the soffit lining provides the visual finish. If you need a fully waterproof underdeck area, we can combine the lining system with a membrane overlay — talk to us about what’s right for your space.
Is an Underdeck Ceiling Right for Your Sydney Home?
If you have an elevated deck that’s currently open underneath, an underdeck ceiling is one of the most impactful upgrades you can make. It’s particularly well-suited to:
- Homes with second-storey decks overlooking the garden or pool
- Properties where the space beneath the deck could serve as an alfresco dining or entertaining area
- Homes in bushfire-prone areas where enclosed storage is useful for equipment and furniture
- Renovation projects where the deck is being updated and the underside needs to match
Talk to 5 Star Decking About Your Underdeck Project
If you’re considering an underdeck ceiling, glass balustrade, or staircase for your Sydney home, we’d be happy to take a look and talk through your options. Every project is different — the height of your deck, the materials you want, and how you plan to use the space underneath all affect the design.
5 Star Decking is a licensed NSW contractor (Licence No. 395250C) with experience across elevated decks, underdeck systems, balustrading, and staircase construction. Give us a call on 0433 334 415 or visit our contact page to get started.
By the 5 Star Decking Team

